How to Use Hinges and Mounts
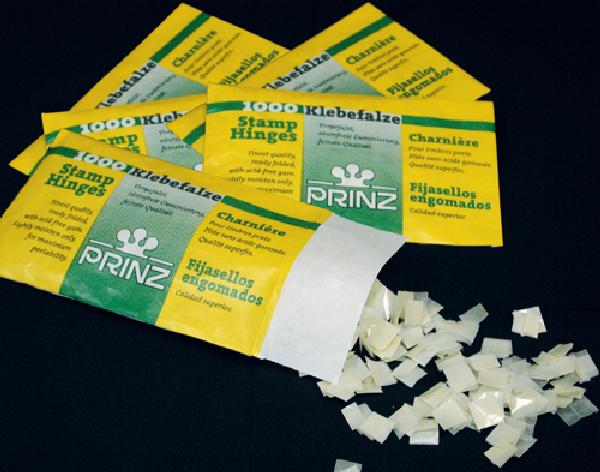
Once you’ve chosen an album, you’ll need either hinges or mounts to hold your stamps in place. Pre-folded stamp hinges are transparent, gummed pieces of paper. The small side of the hinge is attached to the stamp and the larger side to the album page. Hinges are fine for used stamps. If you collect mint stamps, you may want to use mounts. Mounts provide a black or clear background and a clear face to show off your collection to its best advantage. They protect your stamps without damaging the gum. Illustrations below show how to use hinges and mounts.
Hinging Your Stamps
- Lightly moisten the lower half of short flap. (Do not moisten near fold.)
- Press hinge onto back of stamp near the top.
- Now, moisten half of long flap. (Do not moisten near fold.)
- Attach a used stamp to page by pressing stamp at hinge. Attach a mint stamp by pressing the hinge to the page. This way, any excess moisture will not damage your mint stamp.
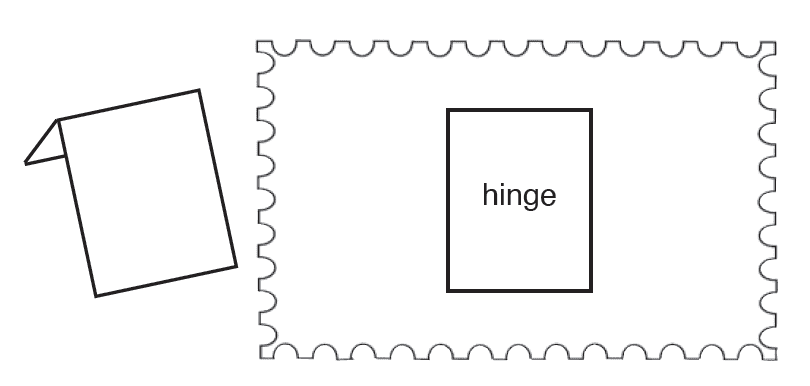
Hinges allow front and back viewing of a stamp with minimum damage to its original adhesive. If you want to remove a hinge, wait until it is thoroughly dry – at least 4 hours. Otherwise you may damage the stamp and/or album page.
Drop-End Mounts
- Locate mount’s dull side.
- Insert stamp into mount to make sure it’s the proper size, with stamp’s back facing the dull side. Seam of mount should be at the bottom.
- Remove stamp.
- Lightly moisten entire dull side of mount.
- Place in proper position on page.
- Re-insert stamp.
Split Back Mounts
- Turn stamp over to back side.
- Gently place stamp into one half of the mount as far as it will easily go.
- Allow mount to flap back into place over the stamp.
- Repeat steps 2 and 3 with other half of mount. (The stamp is now securely centered and can be removed without damage to stamp or mount.)
- Moisten top half lightly, staying away from opening, and place in album.

*Note: Consider “dry” mounting your stamps first so you’re sure to have a good fit and placement. Do this before lightly moistening mount and placing in album.
How to Remove Selvage from Your Stamps
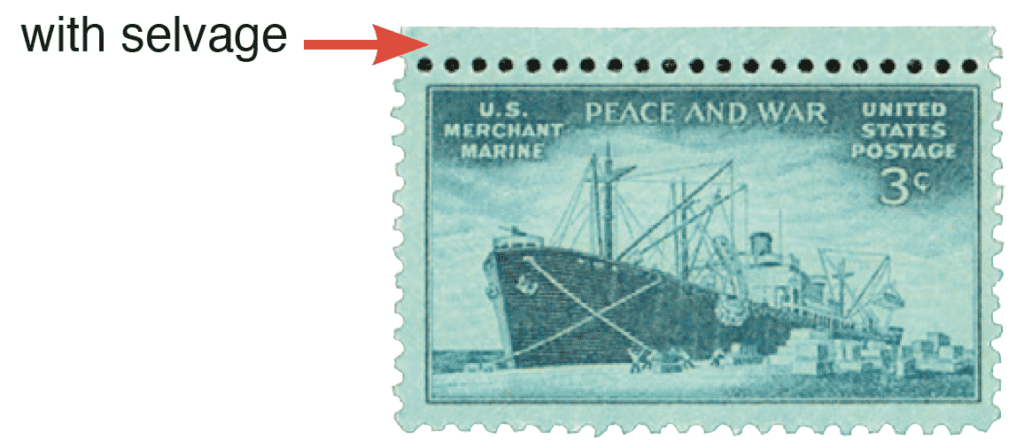
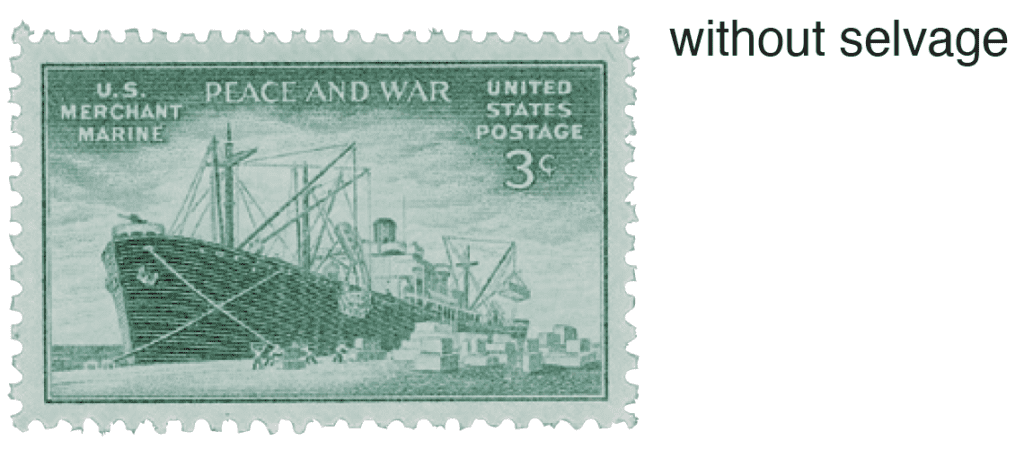
Selvage is a paper border around the outside of a sheet or pane of stamps. It can result in a narrow strip on a single stamp as shown above, or a large, illustrated margin on a sheetlet. You may want to remove a small piece so a stamp will be easier to hinge or fit into a mount. However, if you have a sheetlet with illustrated selvage, you may choose to leave it attached. Selvage can add to the beauty and meaning of your stamps.
- Work at a table, not in your lap.
- Fold the selvage toward the printed side of stamp, then back toward the gummed side, then back and forth several times until the paper becomes weak. The amount of folding necessary varies. After 1960, stamp paper is stronger than that of older stamps and requires more folding (for self-adhesives, fold to back only).
- Hold stamp firmly against table gum-side down and carefully pull on selvage to separate the two pieces. Follow the same steps for stamps you need to separate.